Dungeons and Rifts 0-110

Dungeons Rifts Diablo 2 Median XL 0-110: dungeons and rifts and their order from level 0 to 110, including the first two challenges

Preamble
Numerous dungeons and rifts allow you to collect powerful charms and greatly improve your character. However, these are not easy and you can quickly get lost. I am therefore organizing this guide for you in the order in which it was completed, so that you can easily find your way around. It is important to follow this order, since you will get the boosts from the charms to make the instances more complicated. Things to know before starting the guide:
- you will have two challenges to do directly, one in Normal and the other in Nightmare
- then it will be rifts and dungeons in hell
Challenges
Before moving on to the more difficult content, you will have two challenges to complete. These aren't particularly difficult and you can go back if you die.
- 45 - Level Challenge - on the last wave of Baal in Normal
- be careful to do it before level 59 and to cube Anya's rewards with this charm
- Reward: Sunstone of the Twin Seas, skills, attributes, resistances
- 80 - Enhead Challenge - by killing Mephisto in Nightmare
- go to the end of the map to kill the necromancer
- Reward: Heroic Torch, skills, resistance and Enhead skill unlock
Do these challenges as soon as you find them, the rest will be on Hell difficulty.
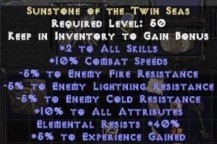 Sunstone of the Twin Seas (with Anya's 3 scrolls)
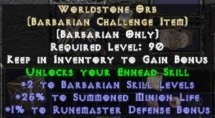 The Barbarbe Heroic Torch
105 Hell Machine
First dungeon that I recommend, Death Projector. You have a lot of enemies but can die, so do the technique of remaking a portal each time and you can do it without problem as you go.
- Location: Act 1 The Pit
- Specificity: you can die at will
- Reward: Optical Detector, passive unlocking toughness and resistance
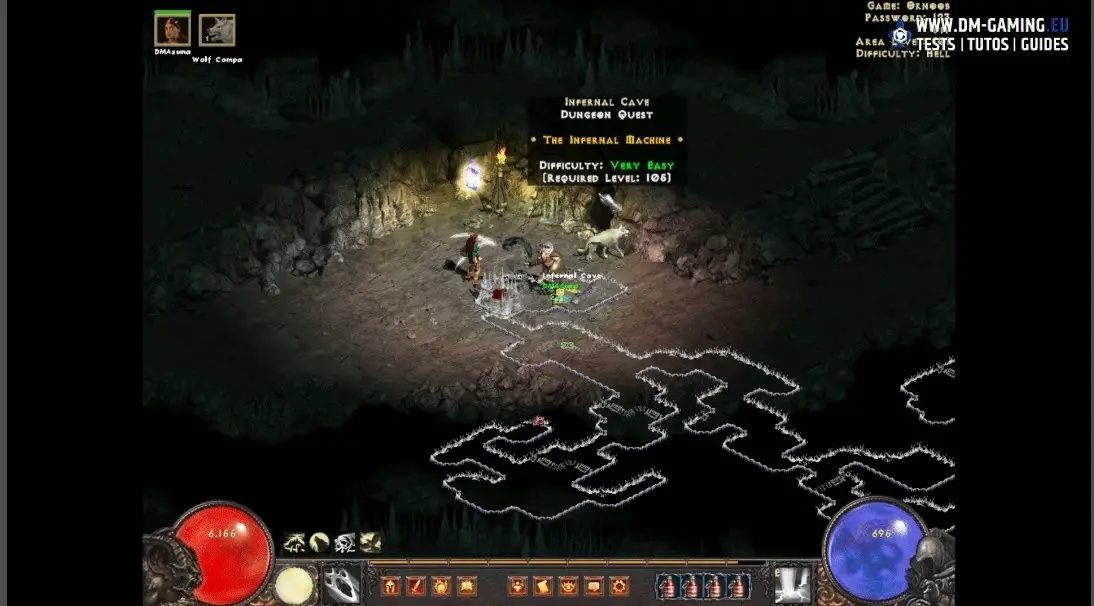 The entrance to Infernal Machine, the first dungeon that I recommend
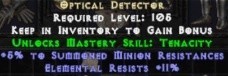 Charm Optical Detector
105 Island of the Sunless Sea
First rift, or second instance, this one is tougher but you can also die at will, so I recommend it second. You have to kill the 6 mini-bosses and put them in the cube. You have a 1 in 6 chance of getting a bird for the cube with the charm obtained previously, so consider doing it. Be careful, the instance is hard, plan to die a good thirty times.
- Location: Act 2 Treasure Volt then Stony Tomb
- Specificity: you can die at will
- Reward: Six Angel Bags, Resistance, and Damage
 The entrance to Island of the Sunless Sea
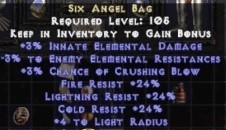 Charm Six angel bags
105 Horror Under Tristram
Once you have both charms in your possession, head to Tristam. This time you lose if you die, and will have to recreate a game. Avoid going to the sides as this will trigger traps, make small circles around the Butcher to kill him without having to take damage via the traps.
- Location: Act 1 Tristram, hidden in a burning house on the left
- Specificity: avoid the edges of the map, you die you get lost
- Reward: The Butcher's Tooth, attribute, magic find
- If you get stuck: try next instance or go to 110 instances, dead at will
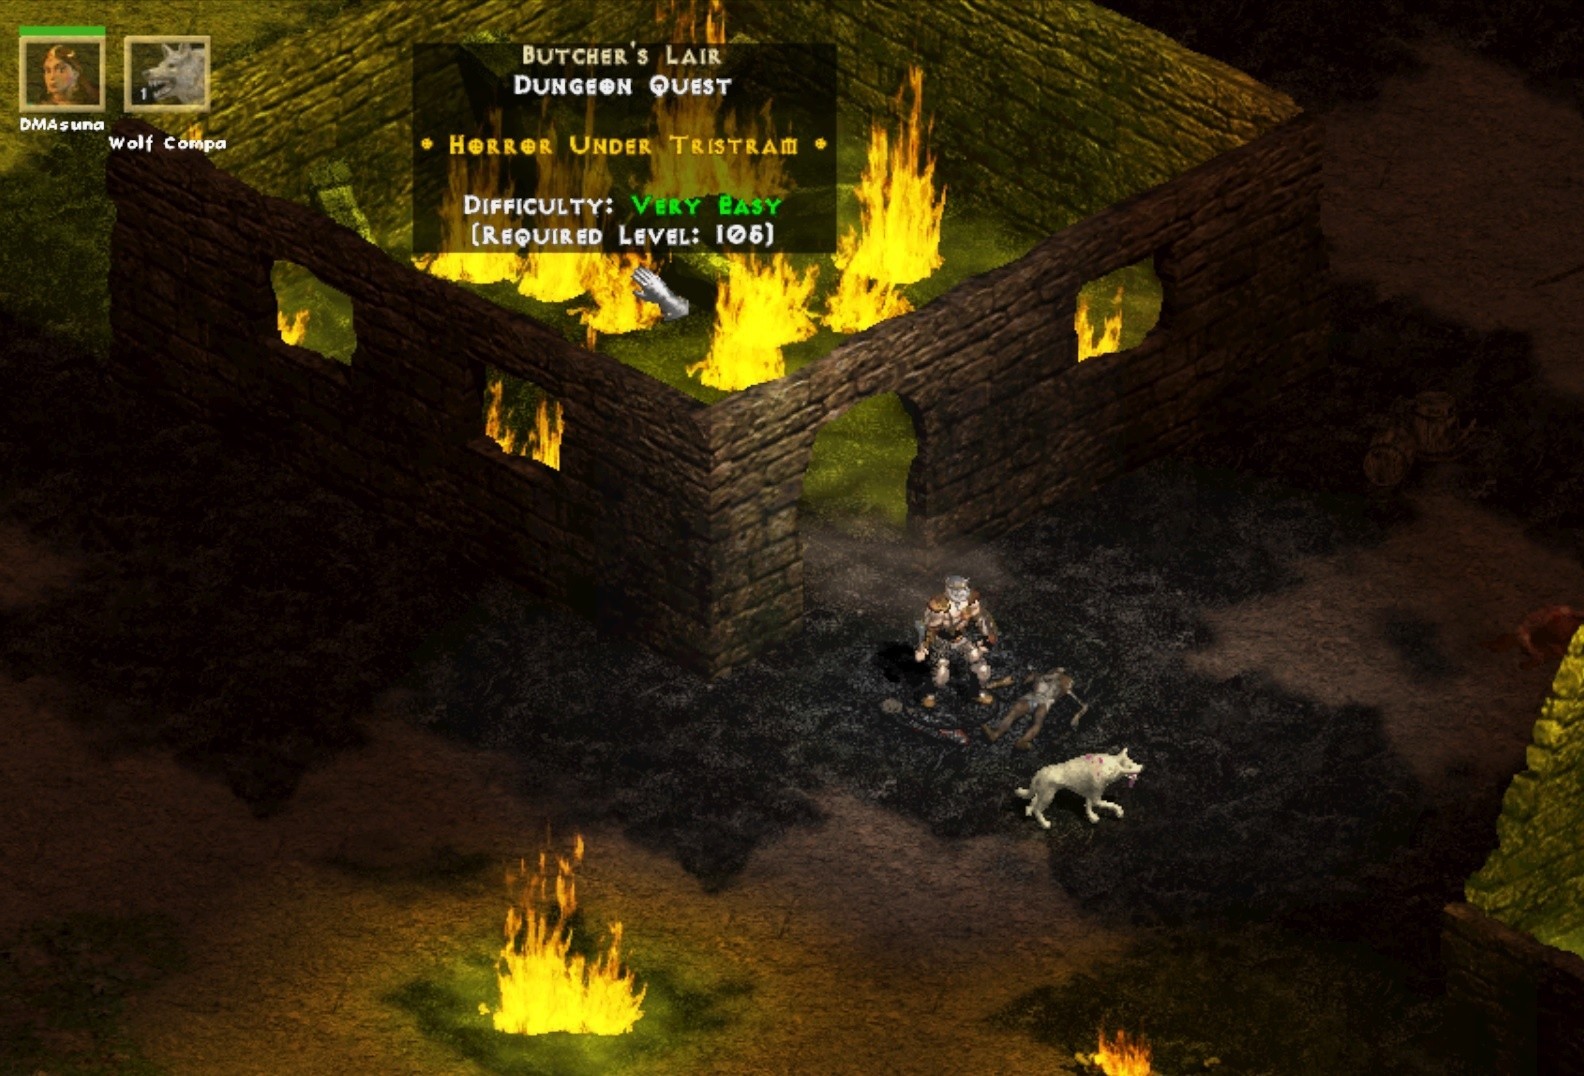 The entrance to Horror Under Tristram to face the Butcher
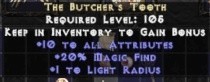 Charm The Butcher's Tooth
105 Invasion
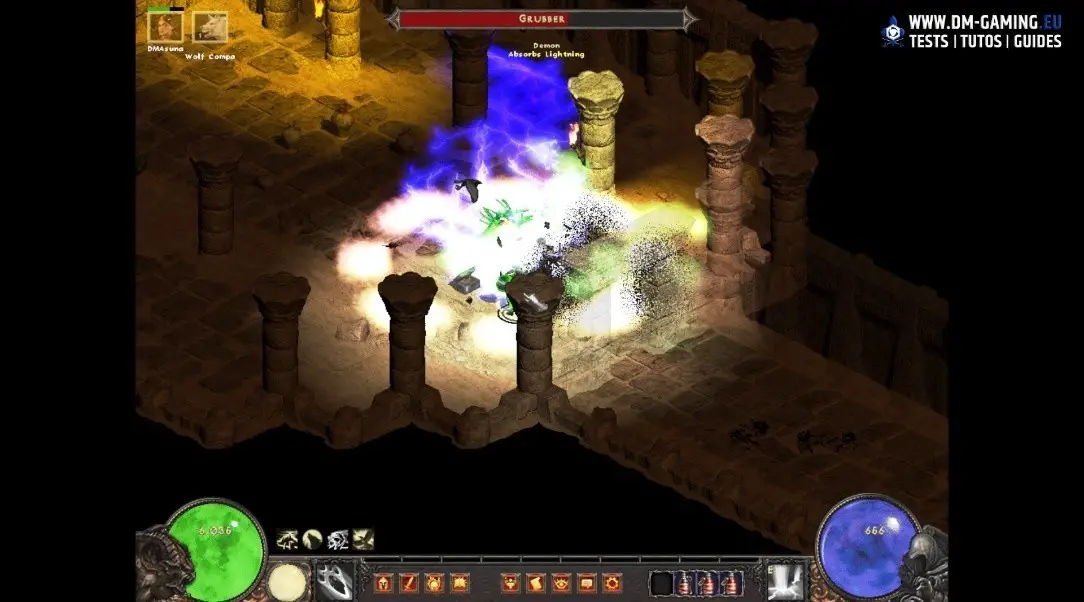
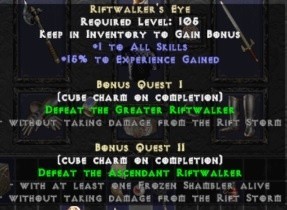
This boss is more technical but also quite simple, if you manage it well. Remember to have your lightning resistance to the max and especially avoid lightning circles on the ground; these will do you a huge damage after a few seconds. Its circular attack in itself does not hurt very much. Note that the bonus quests are achievable in Invasion II (115) and Invasion III (130) instances, I will come back to this in the next guides.
- Location: Act 2 Harem, at the end as soon as you go down into the palace, wait a bit for the masked character to turn into a portal
- Specificity: avoid his attacks on the ground, you will die you get lost
- Reward: Riftwalker's eye, skill, experience
- If you get stuck: try next instance or go to 110 instances, dead at will
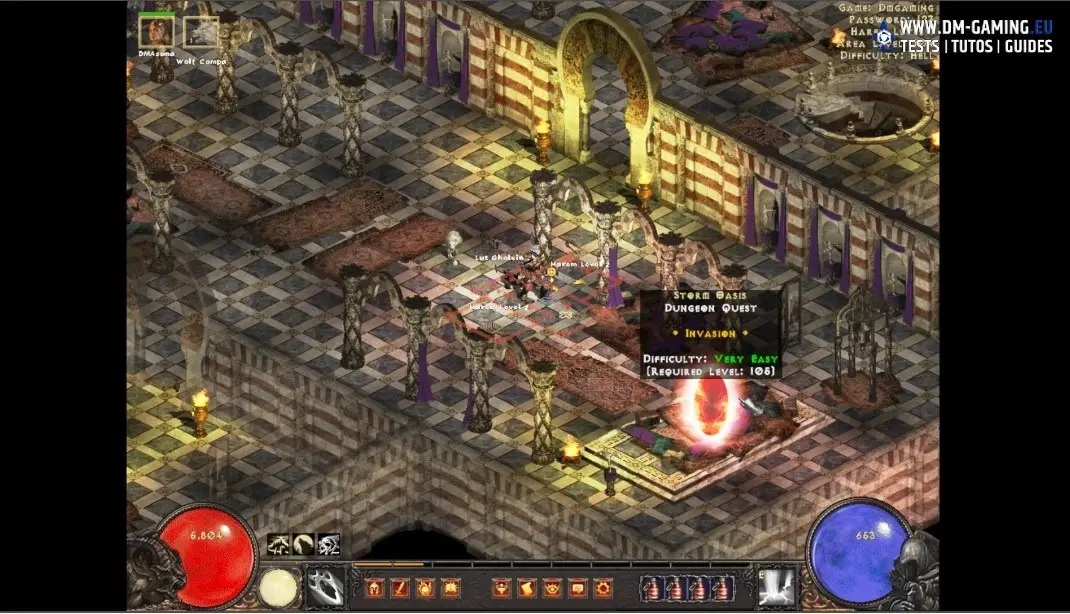 Entrance to the Harem to kill the Invasion boss
 The Riftwalker's Eye Charm
110 Torjan Jungles Moon of the Spider
If you know Median XL well, you will have noticed that I passed a 105 dungeon, I will come back to it later in this guide because I find it well above the others. You will therefore go to the Torjan Jungles, via the red portal to the south of act 3. The advantage is that you can die at will. There will be two charms to collect, here is the first one:
- Location: Act 3 Kursat, the portal to the south, then to the northwest
- Specificity: you can die at will, however kill the guards one by one
- Reward: Moon of the Spider, Spell Focus and Blink
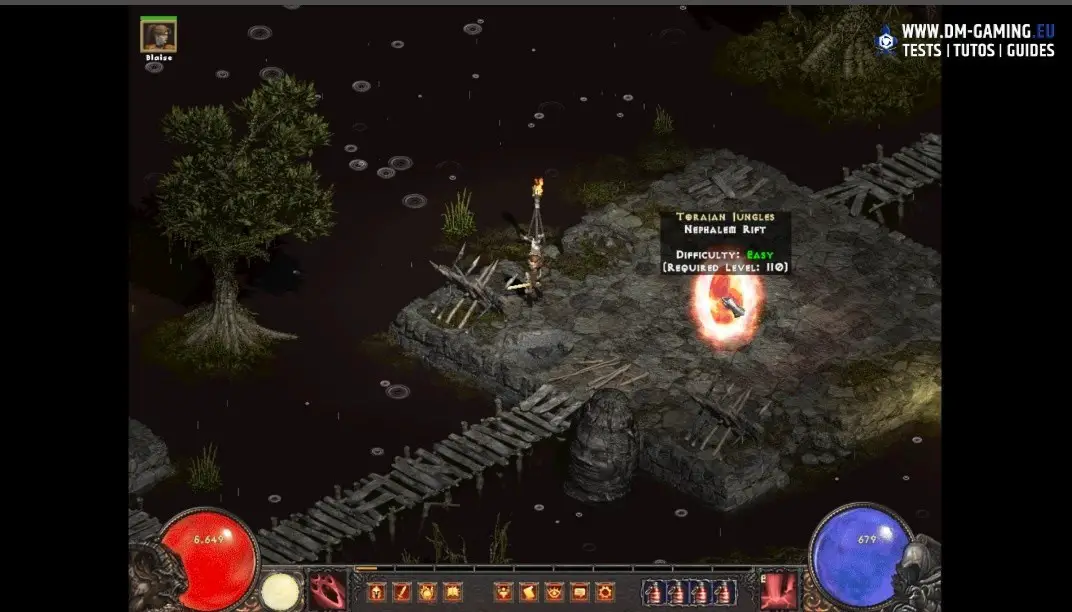 The entrance to the Torjan jungle, then go to the top left
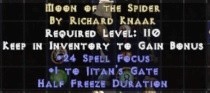 Moon of the Spider Charm
110 Torjan Jungles Visions of Akarat
More useful than the first charm in the area, do the same as before and head northeast. This boss is more complicated because it heals itself, so you will need a good DPS. You will also have to kill an enemy of the same type in order to make them vulnerable. Clear the area then kill enemies as needed to make it vulnerable. If you've killed all of his base minions, you can easily take him to another minion without a problem.
- Location: Act 3 Kursat, the portal to the south, then to the northeast
- Specificity: you can die at will, she heals herself when life is low and needs to kill a minion to make her vulnerable
- Reward: Visions of Akarat, attributes
- If you get stuck: come back when you have more DPS
The entrance to the Torjan jungle, then go to the top right middle
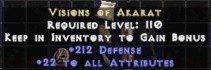 Vision of Akarat Charm
110 The Binding of Baal
Complex in appearance but in the end quite simple, this instance needs to be managed well to finish it. You will also recover an ultra powerful charm. You are in Baal's shoes to replay the battle against Tal Rasha, but it's just a skin; you keep resistances, spells, damage, etc. From the start move away and kill the enemies one by one taking your time.
- Location: Act 2, in Duriel's tomb by killing the guards just before the staff
- Specificity: kill each enemy one by one before killing the boss, taking your time, you will lose you will die
- Reward: Scroll of Kings,% spell damage and especially% attributes
- If you get stuck: try several times to fully understand the mechanisms
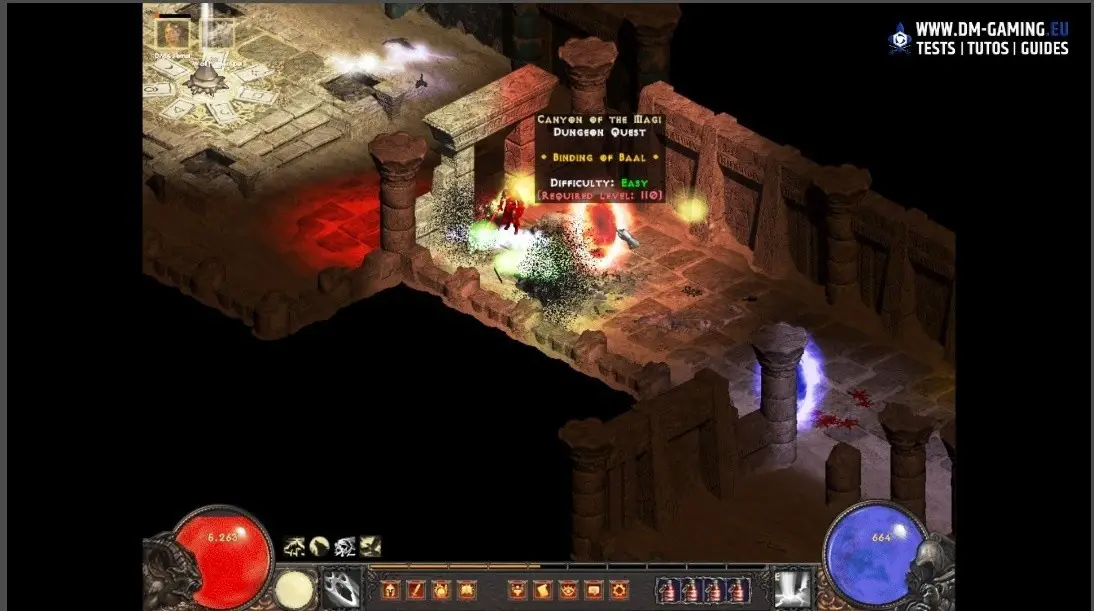 The entrance to The Binding of Baal, where you face off against Tal Rasha
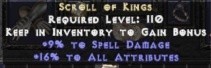 Scroll of Kings Charm
110 Horazon's Sanctum
For this first instance in Caldeum, you must first go there. Go to Lower Kurast Act 3 and kill StormTree. Then take the WP to avoid this path. You will have to kill two bosses, the first simple and the second more robust, which will also summon enemies.
- Location: Caldeum, via StormTree just before Lower Kurast Act 3
- Specificity: kill the boss by limiting his summons as needed, you will die you get lost
- Reward: Horazon's focus, life and mana stolen, attributes
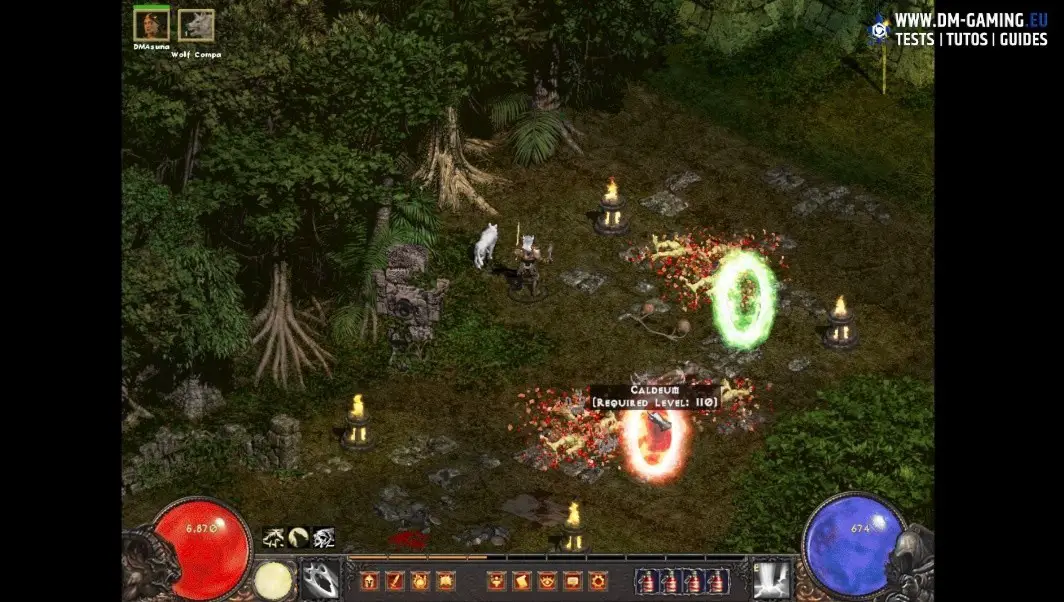 Entrance to Caldeum, then go south, don't forget the waypoint
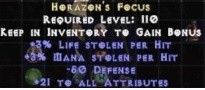 Horazon's Focus Charm
110 Assault on Mont Arreat
After being Baal, you will now be Diablo. go to act 5, at Mont Arreat and kill the guardian of the ancients. Once activated, you will have two minutes where you can die. Avoid too big packs of enemies, the instance is not particularly hard but you can quickly find yourself overwhelmed.
- Location: Mont Arreat Act 5
- Specificity: avoid big aggro and kill enemies one by one, you will die you get lost (after 2 minutes)
- Reward: Sacred Worldstone Key, weapon damage and defense
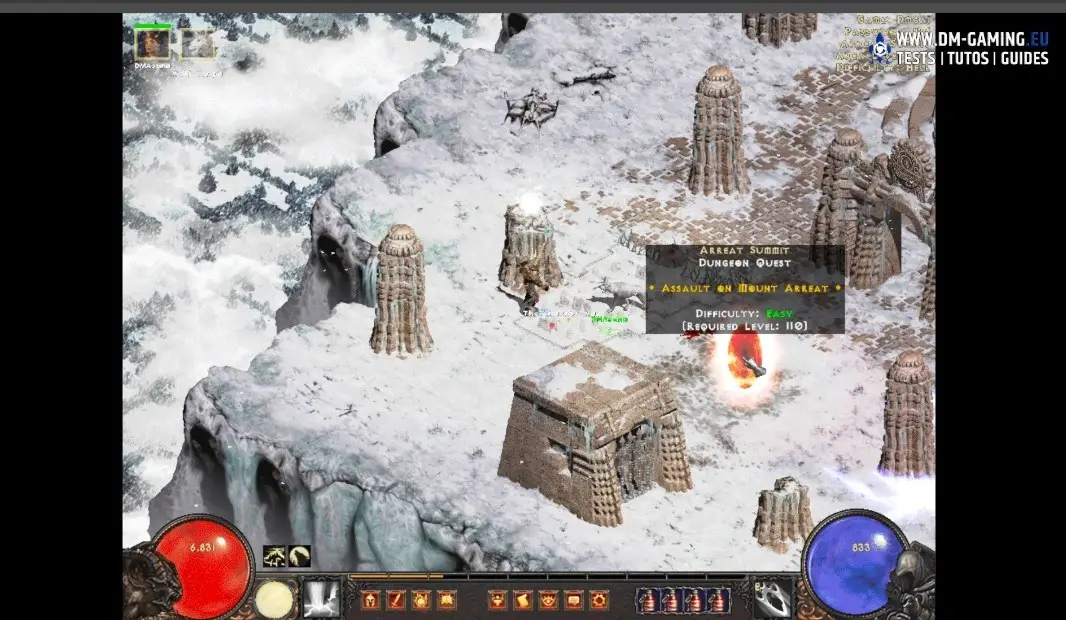 The entrance to Assault on Mont Arreat, where you play as Diablo
 Sacred Worldstone Key Charm
110 Inquisitor of the Triune
On your way to Travincal, go right over what looks like a large stone bridge to find the entrance just below. You will face the Inquisitor of the Triune, stay well in the middle to avoid the tentacles attacking you. The most complicated effect to deal with is its poison, even while heading into poison resistance, it will deal considerable damage to you. You can however go up and heal in Ormus to dispel it, then return to face the boss. Avoid dying so as not to heal the boss and you should kill him with no problem.
- Location: Act 3, just before Travincal on the right
- Specificity: dispel poison via Ormus, dead at will
- Reward: Signet of Skill, two skill points (once per character)
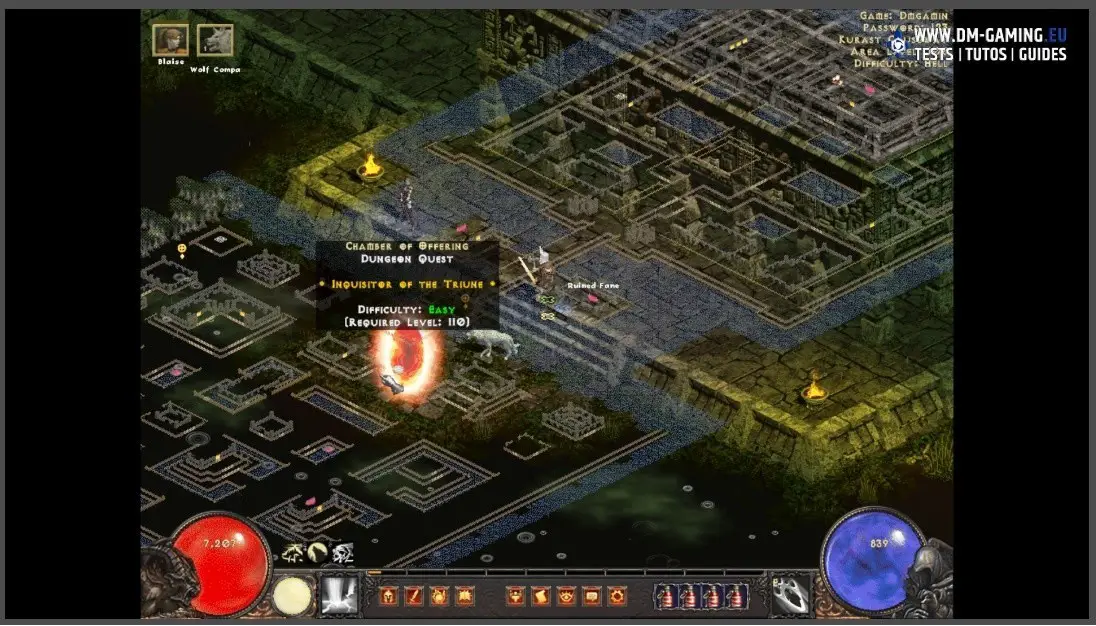 The entrance to the room of offerings, to face the Inquisitor of the Triunes
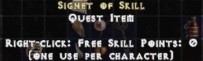 Bookmark of Skill (already used)
105 Death Projector
I go back to the complicated 105 instance, you have to go through act 3 Flayer Jungle, The Pit, which is right next to the waypoint. Go to the end and enter the instance. Wait the 20 seconds of lockdown because the boss is invulnerable, then go and hit him. He will always attack the same in a circle around him, so turn around. Pay attention to the desync, the fact that your character ends up where it was a few seconds ago, which personally caused me a lot of deaths. Be careful with the minions, they are invulnerable and if you hit you will be chained by his comrades and die almost surely.
- Location: Act 3, Flayer Jungle, on the last level of The Pit
- Specificity: kill the boss by dodging his attack and his invulnerable minions, you lose you die
- Reward: Laser Focus Crystal, max life and mana, experience
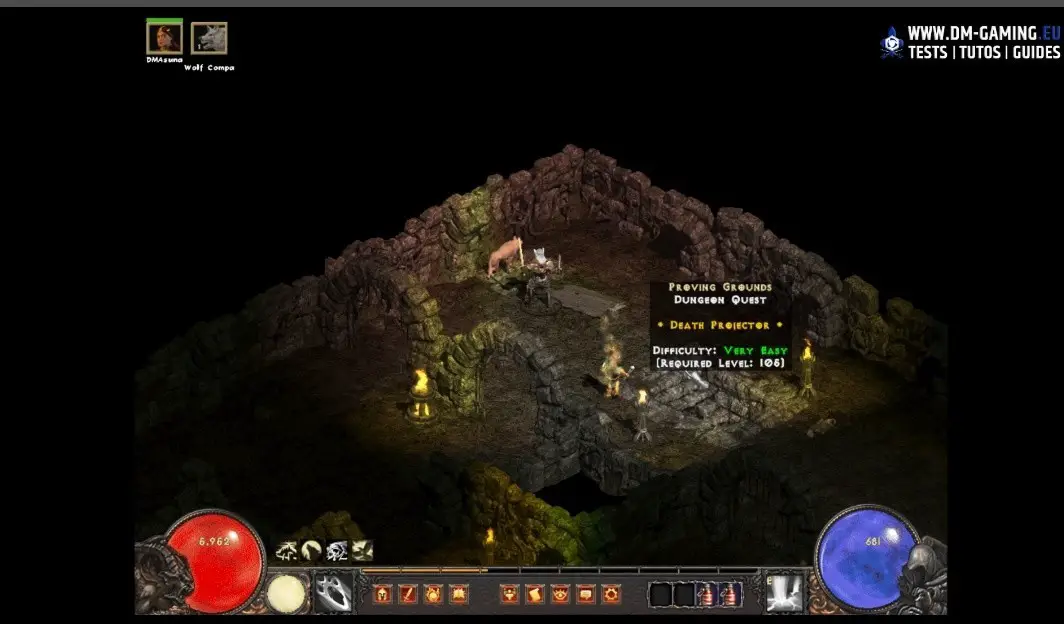 The entrance to Proving Grounds, to destroy the Death Projector
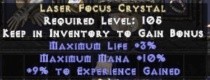 Laser Focus Crystal Charm

With this guide to the first challenges, dungeons and rifts on Diablo 2 Median XL, you will have the order to recover the first 13 charms without difficulty!
By Alchemists, August 2021